Adding a Game
Before creating a campaign on Jestr, you'll need to add the game you want to promote to your studio dashboard.
Add your game automatically
The easiest way to add a game is by importing it from Steam or IGDB.
- From your studio dashboard, under the Games tab, select Add Game.
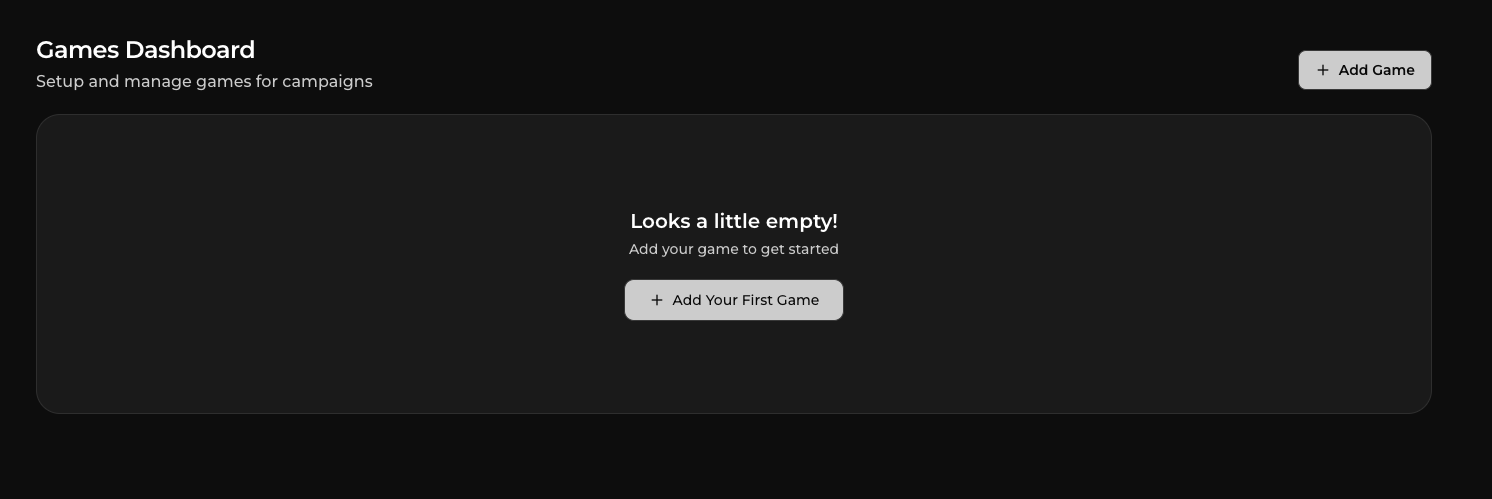
- Search for your game by name.
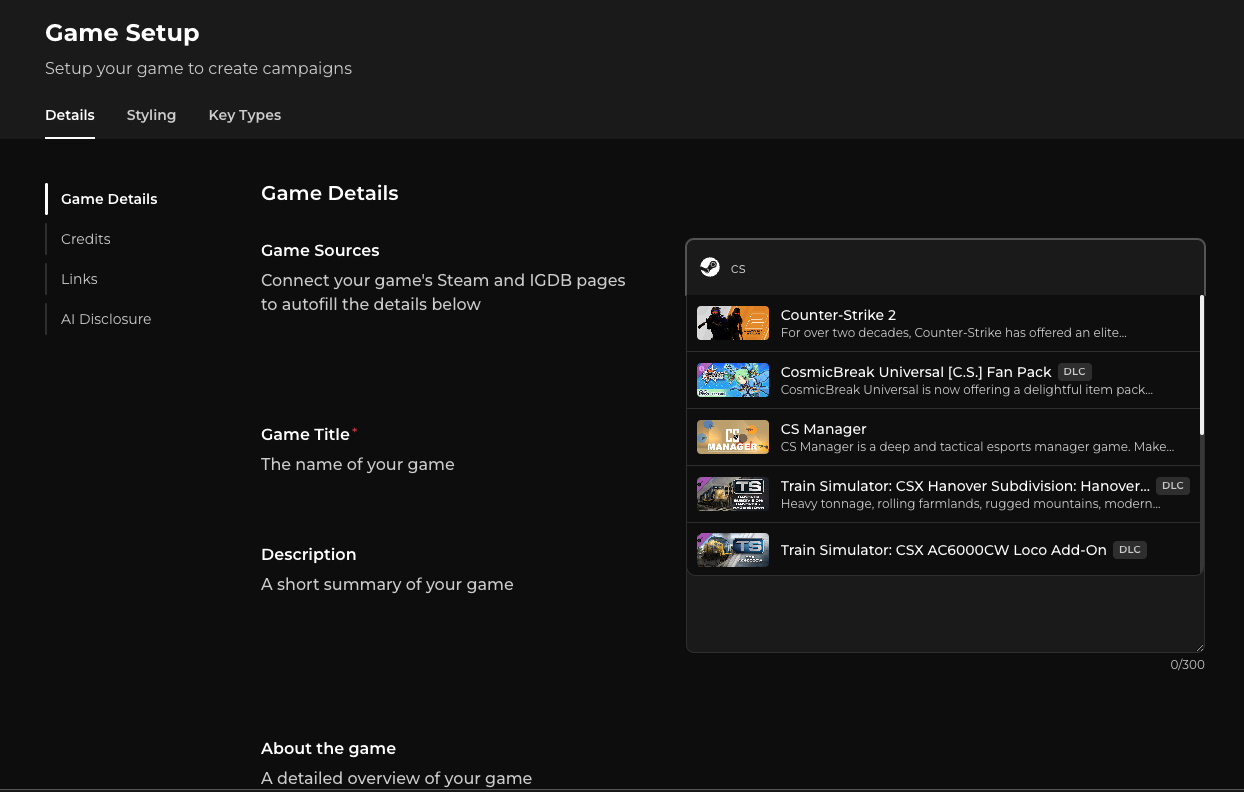
- Select the correct game from the search results.
- Jestr will automatically fill in the available game information for you.
This can include your game's title, description, overview, genres, tags, store information, cover art, trailers, screenshots, background artwork, and other available metadata and assets.
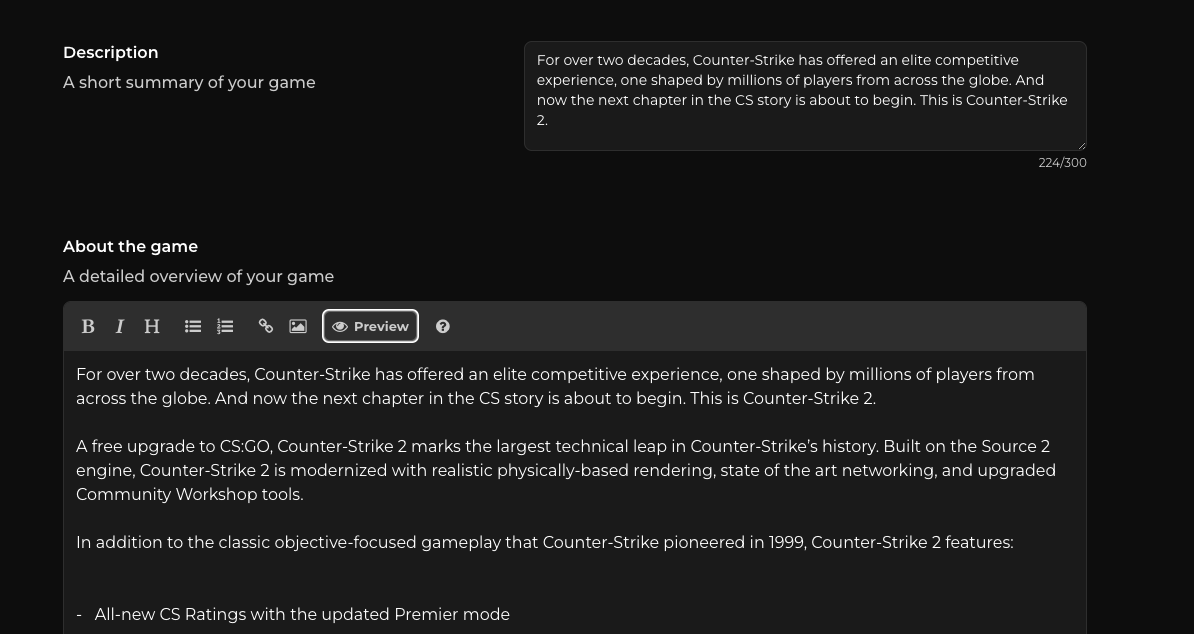
Whenever possible, import your game rather than entering everything manually. It's faster and helps ensure your game's information is complete and consistent with its existing store listing.
Adding a game manually
If your game isn't available on Steam or IGDB yet, you can still add it to Jestr manually.
Fill out the required fields on the setup page and hit Add Game to save the game under your studio dashboard.
You can update this information later as your game and store presence develop.
Game styling & assets
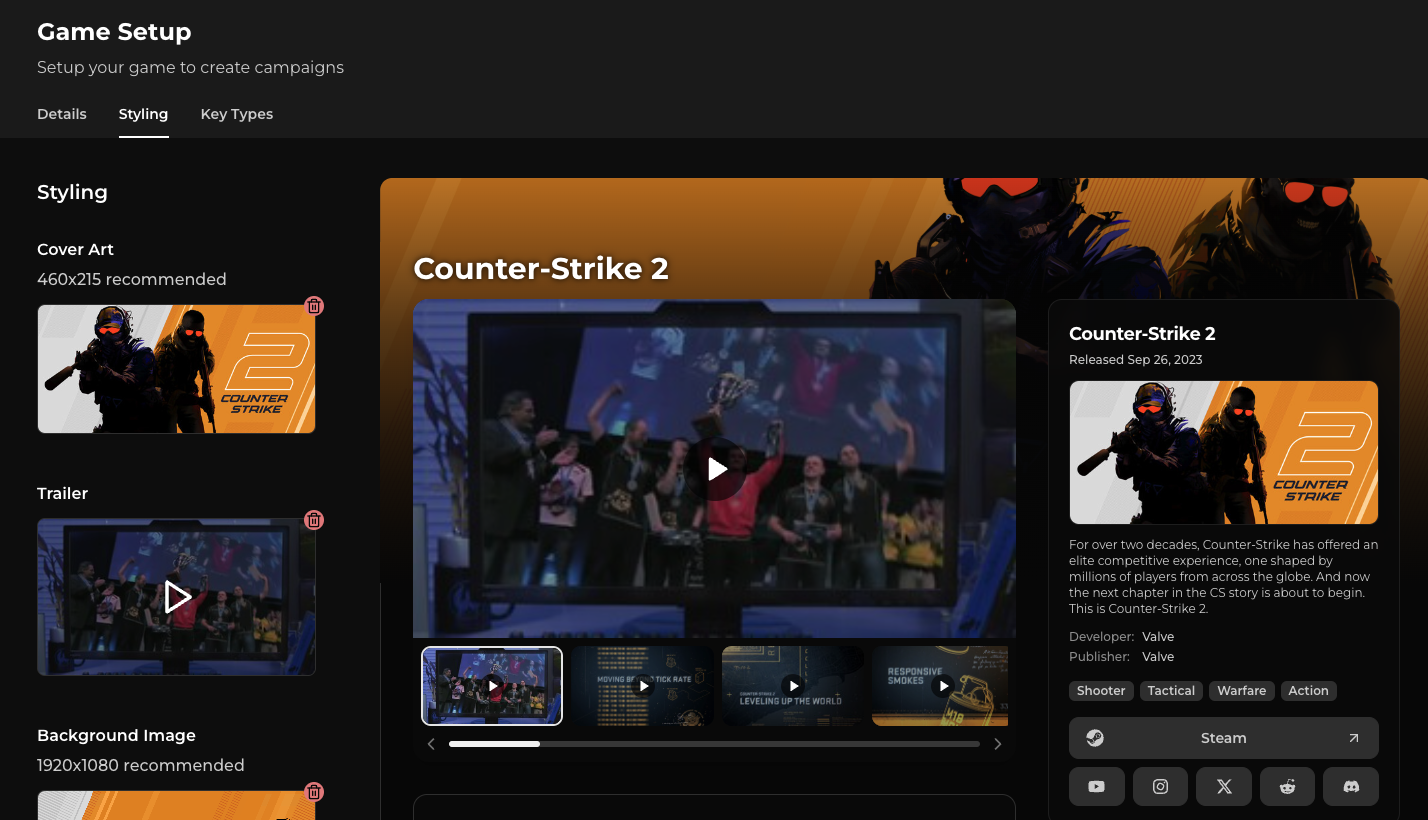
When adding your game, you can also review the visual assets and presentation Jestr will use for it.
If you've imported your game from Steam, much of this can already be populated using your existing store assets.
This can include:
- Cover art
- Trailer
- Background image
- Game trailers & images
You can keep the imported assets as-is or replace them with your own.
These assets act as the default presentation for your game across Jestr and can be carried into campaigns you create for it later.
Your game's About section
You can also customize your game's About section, which gives creators more information about the game itself.
Similar to a Steam store page, the About section supports rich content, so you can use formatted text, images, GIFs, and other supported media to better showcase your game.
If you've imported your game from Steam, this content may already be populated for you.
Use this section to give creators a useful overview of the game rather than campaign-specific instructions. Information about a particular campaign, creator direction, or promotional beat can be added when you create the campaign itself.
Customizing assets for individual campaigns
You don't need to use the exact same presentation for every campaign you run.
When creating a campaign, your existing game assets provide a starting point, but you can sync again from Steam or customize the assets specifically for that campaign.
For example, a launch campaign might use your primary key art and launch trailer, while a later update or DLC campaign might use completely different artwork and footage.
For more information, see Campaign Styling.
Key types
After adding your game, you can also configure the key types available for it. Key types let you define the different ways creators can receive access to your game, such as a Steam key for a private playtest, an early demo, or the full game.
You don't need to configure or distribute keys while initially adding your game, and you can return to these settings at any time.
For more information on setting up key types, uploading keys, and distributing them to creators, check out Keys & Key Requests.
AI-generated content disclosure
When adding a game, you'll also be asked whether it contains AI-generated content.
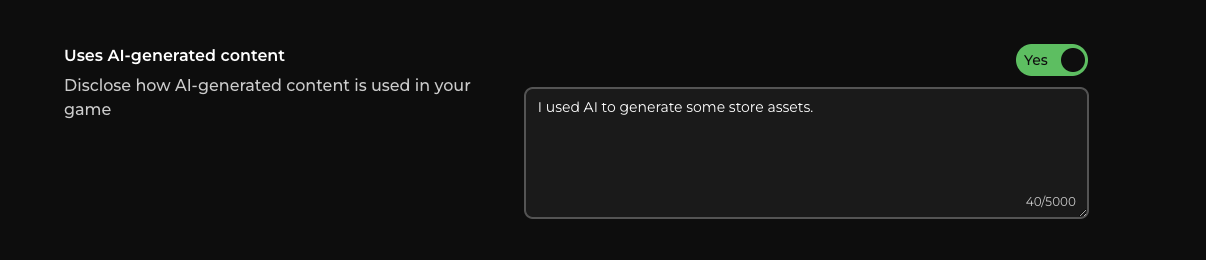
Please answer this accurately. This information is disclosed to creators so they can make informed decisions about the campaigns they participate in and the games they choose to cover.
If the use of AI-generated content in your game changes, make sure your game's information on Jestr is updated accordingly.
Next step: Create your first campaign
Once your game has been added to your studio dashboard, you're ready to create a campaign.
Head to the Campaigns tab and select Create Campaign to get started, or continue to Creating a Campaign for the full process.